Follow Me On Social Media!
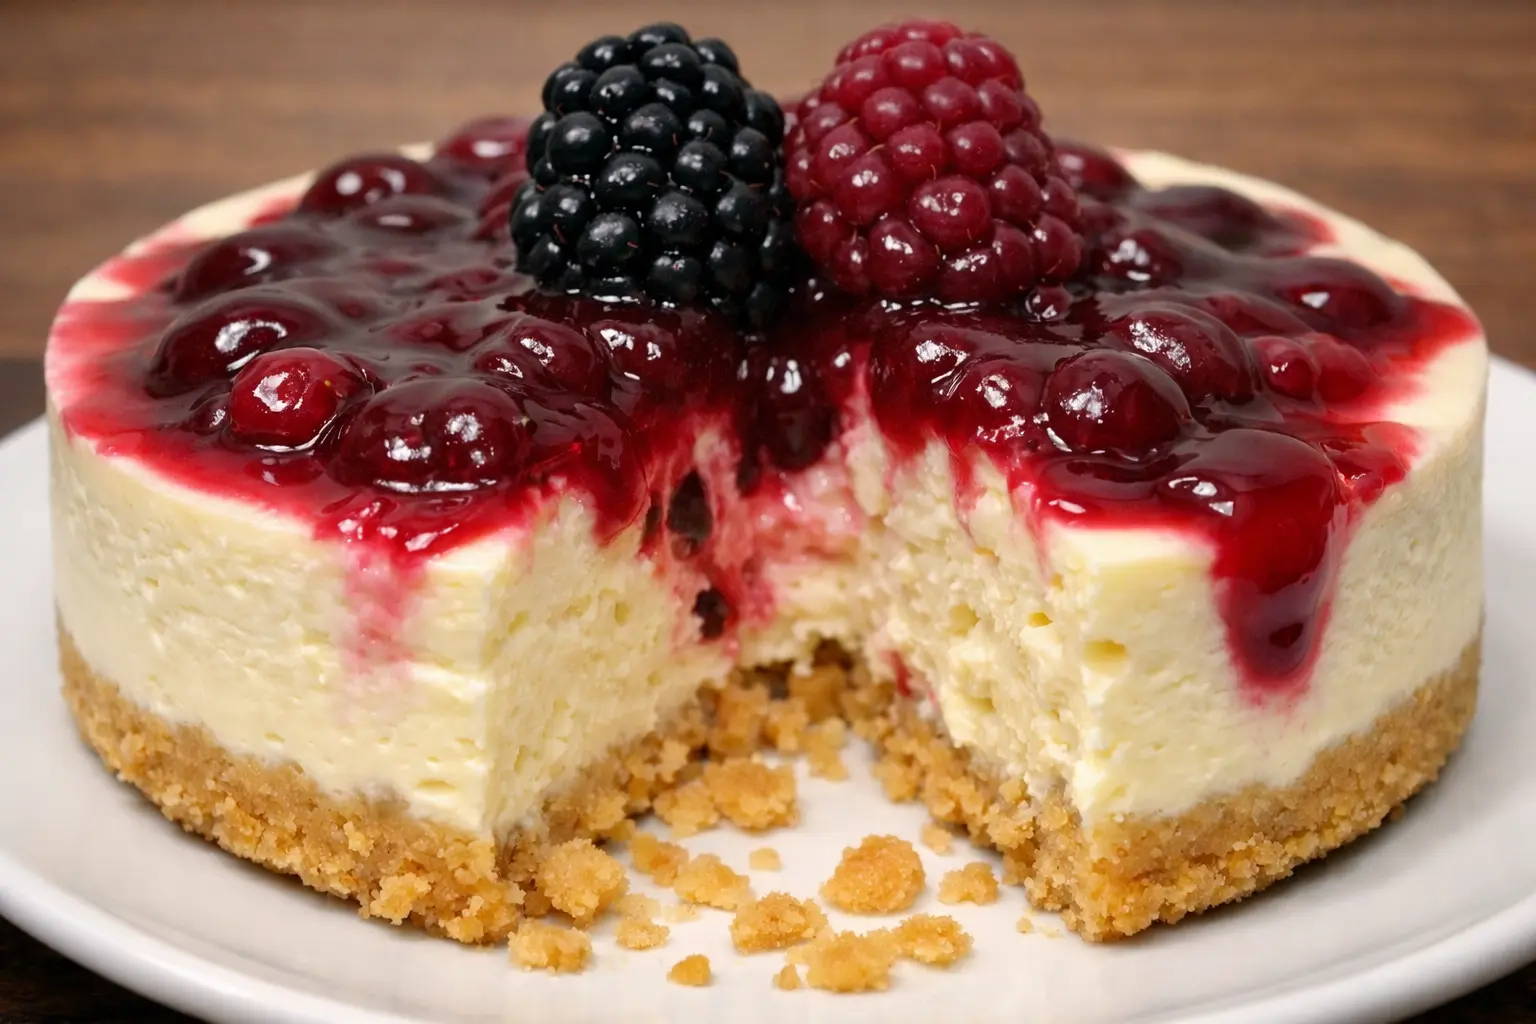
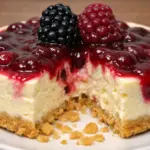
If you’re searching for a dessert that looks impressive but requires minimal effort, Creamy No-Bake Cheesecake with Berries is the perfect choice. This elegant treat delivers a smooth, velvety filling layered over a crunchy crust, finished with fresh, colorful berries. Best of all, there’s no oven involved, making it ideal for both beginners and experienced home cooks.
This cheesecake is light yet satisfying, sweet without being overwhelming, and perfect for nearly any occasion. Whether you’re hosting guests or simply treating yourself, it’s a dessert that never disappoints.
Why a No-Bake Cheesecake Is a Great Choice
No-bake cheesecakes are loved for their simplicity and convenience. Unlike traditional baked cheesecakes, this version skips the baking process entirely. That means less time in the kitchen and no worrying about cracks or overbaking.
Another advantage is texture. No-bake cheesecakes tend to be softer, creamier, and more refreshing, especially during warmer months. They’re also incredibly flexible—you can change flavors, crusts, and toppings with ease. From fruit-forward options to chocolate or caramel variations, the base recipe adapts beautifully to your preferences.
Why Berries Make the Perfect Topping
Berries bring both beauty and balance to desserts. Strawberries, blueberries, and raspberries add natural sweetness, gentle tartness, and vibrant color that contrast perfectly with the creamy cheesecake filling.
Beyond taste, berries are packed with antioxidants, vitamins, and fiber. This makes them a smart and refreshing topping that enhances flavor while adding nutritional value. Whether served at a summer gathering or a casual family dinner, berries instantly elevate the presentation and taste of the cheesecake.
Ingredients for Creamy No-Bake Cheesecake with Berries
For the Crust
- 1½ cups graham cracker crumbs
- ¼ cup granulated sugar
- ½ cup unsalted butter, melted
For the Cheesecake Filling
- 16 oz cream cheese, softened
- 1 cup powdered sugar
- 1 teaspoon vanilla extract
- 1 cup heavy whipping cream
For the Topping
- 2 cups fresh mixed berries (strawberries, blueberries, raspberries)
- 1 tablespoon honey or maple syrup (optional)
Each ingredient plays an important role. The crust adds crunch, the filling delivers smooth richness, and the berries provide freshness and color.
Step-by-Step Preparation of Creamy No-Bake Cheesecake with Berries
Step 1: Make the Crust
In a bowl, combine graham cracker crumbs, sugar, and melted butter. Mix until evenly coated and slightly moist. Press the mixture firmly into the bottom of a 9-inch springform pan, creating an even layer. Refrigerate while preparing the filling to allow the crust to set.
Step 2: Prepare the Cheesecake Filling
In a large bowl, beat the softened cream cheese until smooth and creamy. Add powdered sugar and vanilla extract, mixing until fully combined.
In a separate chilled bowl, whip the heavy cream until stiff peaks form. Gently fold the whipped cream into the cream cheese mixture, using slow, careful motions to keep the filling light and airy.
Step 3: Assemble and Chill
Pour the cheesecake filling over the chilled crust and smooth the top with a spatula. Cover and refrigerate for at least 4 hours, or until fully set. Overnight chilling produces the best texture.
Step 4: Add the Berry Topping
Once set, remove the cheesecake from the pan. Top with fresh berries, arranging them neatly or scattering them naturally. Drizzle with honey or maple syrup if desired for extra sweetness and shine.
Variations of Creamy No-Bake Cheesecake with Berries
Alternative Crust Ideas
- Chocolate cookie crust using crushed chocolate sandwich cookies
- Almond flour crust for a gluten-free option
- Oat-based crust made with rolled oats and brown sugar
Flavor Variations
- Chocolate cheesecake with melted chocolate mixed into the filling
- Lemon cheesecake with fresh lemon juice and zest
- Peanut butter cheesecake with a swirl of peanut butter and chocolate drizzle
These variations allow endless creativity while keeping the base recipe simple.
Helpful Cooking Notes
Always use softened cream cheese to prevent lumps. Cold cream cheese can result in an uneven filling. For best whipped cream results, chill the bowl and beaters before whipping.
Allow sufficient chilling time. Rushing this step can lead to a cheesecake that won’t hold its shape. Preparing the cheesecake a day ahead is highly recommended.
Before topping, gently wash and thoroughly dry berries to prevent excess moisture from affecting the texture.
Serving Suggestions
Beverage Pairings
- Freshly brewed coffee or espresso
- Herbal teas like mint or chamomile
- Sparkling water with citrus
- Champagne or sparkling wine for celebrations
Presentation Ideas
- Garnish with fresh mint leaves
- Serve on a cake stand for elegance
- Drizzle berry sauce or chocolate sauce
- Prepare individual servings in jars or cups
Tips for Perfect Results
Common Mistakes to Avoid
- Using cold ingredients
- Overmixing after adding whipped cream
- Skipping chill time
- Loosely packed crust
Storage Tips
- Refrigerate covered for up to 5 days
- Freeze without toppings for up to 2 months
- Add berries only before serving
Time Breakdown
- Prep Time: 20 minutes
- Chilling Time: 4 hours
- Total Time: About 4 hours 20 minutes
Nutritional Overview (Per Slice, Approximate)
- Calories: 250
- Protein: 3g
- Sodium: 200mg
Values may vary based on ingredient choices.
Frequently Asked Questions
Can I use low-fat cream cheese?
Yes, though the texture will be slightly less rich.
How long does it last in the fridge?
Up to 5 days when properly covered.
Can it be frozen?
Yes. Freeze without berries and thaw overnight in the fridge.
What toppings can I use besides berries?
Chocolate shavings, caramel sauce, whipped cream, crushed nuts, or fruit compote.
Final Thoughts
Creamy No-Bake Cheesecake with Berries is the perfect balance of simplicity and elegance. With no baking required and endless customization options, it’s a reliable dessert for any occasion. Light, creamy, and beautifully topped with fresh fruit, this cheesecake is sure to become a favorite in your recipe collection.
Enjoy every slice—and the compliments that come with it. 🍰